What an Arched Built-In Really Costs: A Room-by-Room Budget Breakdown
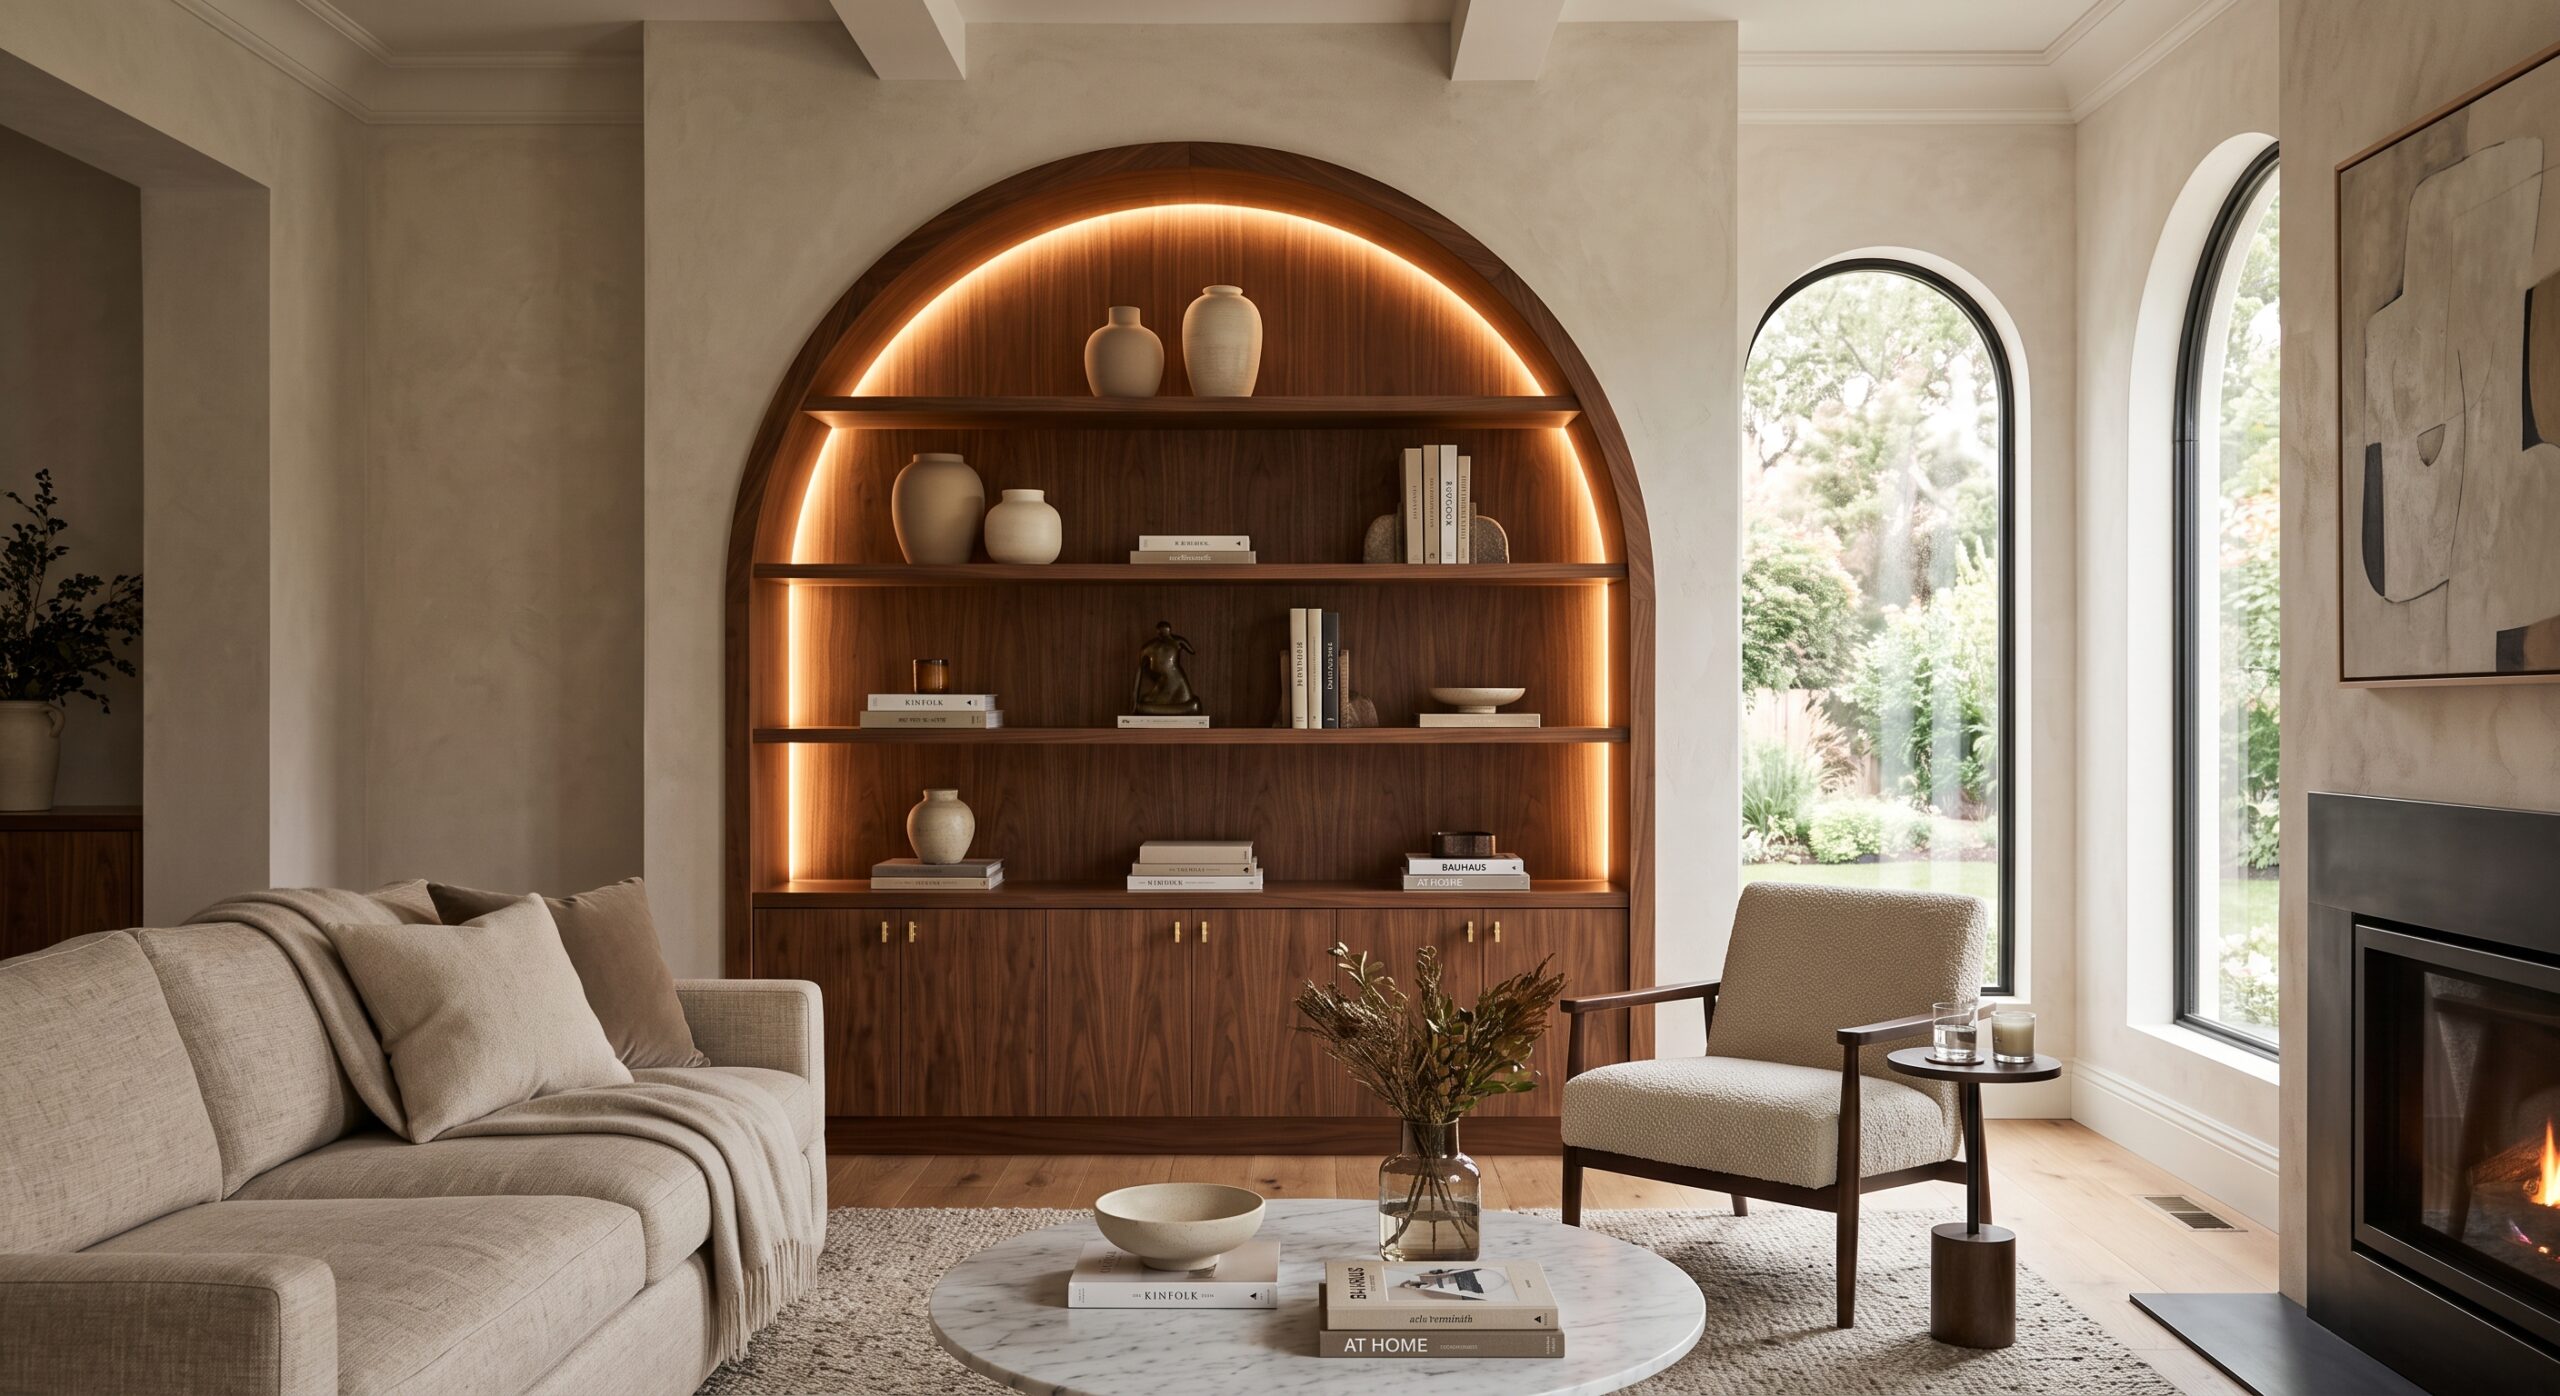
You find the arched built-in you want on Pinterest and think, That would look perfect here. It looks simple. A soft curve, a few shelves, maybe a warm little light tucked inside.
Then you ask for a quote. Suddenly, that “simple arch” is a $4,000 project.
The confusing part is that the $1,500 project and the $8,000 project you saw online can both be completely real. They just are not the same project. An arched doorway, a recessed niche, a custom bookcase, and a painted wall arch can create a similar visual mood while requiring very different amounts of framing, labor, materials, finishing, and electrical work.
So instead of giving you one vague national average, let’s break the cost down properly. This guide looks at how an arched feature is made, where you’re putting it, and what actually makes the price climb. The figures are planning ranges rather than contractor quotes, because location, project size, wall conditions, materials, and local labor can change the final number substantially.
And yes, there are ways to get the look without spending five figures.
Why Arched Built-In Costs Vary So Much
There is no single thing called an “arched built-in.” That phrase can describe a tiny decorative niche, a full-height bookcase, a new doorway, a plaster feature, or a completely custom cabinetry project. That’s why two quotes can seem wildly different at first glance.
The Four Ways to Get the Arched Look
For a typical home project, most options fall into four categories:
- Framed and drywalled: The wall or opening is physically reshaped.
- Plaster-finished: The architectural form is finished with plaster or a decorative plaster treatment.
- Custom millwork: The arch becomes part of cabinetry, shelving, storage, or another built-in.
- Painted or faux: The wall remains flat and the arch is created visually with paint.
That last option is technically not a built-in at all, but it belongs in this conversation because it can create a surprisingly convincing architectural focal point without construction.
Labor is Usually Where the Number Moves
The materials for a small arch are not necessarily expensive. The tricky part is getting everything to look intentional. A curved drywall feature involves framing, shaping, attaching the curved section, finishing seams, and getting the surface smooth enough to disappear into the rest of the wall. Even a relatively simple drywall arch can require careful craftsmanship, and current guidance puts basic drywall material costs far below the potential labor cost of more complicated work.
Custom millwork works the same way. The wood or MDF is only part of the expense. Design, fabrication, finishing, installation, and any cabinets, drawers, lighting, or trim all add to the project.
That is why the question to ask is not just, “How much does an arch cost?” Ask: What am I actually asking the contractor to build?
The Four Ways to Build an Arched Feature
Here’s the quick comparison before we get into individual rooms.
| Approach | Rough Planning Range | Best For | Main Cost Driver |
| Painted / Faux Arch | $50–$500 DIY; roughly $250+ professionally | Bedrooms, studios, rentals, decorative zones | Prep + painter skill |
| Framed Drywall Arch | About $1,000–$5,000+ | Doorways, niches, architectural openings | Framing + finishing + complexity |
| Plaster / Decorative | About $700–$3,000+ for smaller focused work | Niches, feature walls, refined interiors | Surface prep + specialist labor |
| Custom Millwork | About $1,500–$6,000+ for many shelving projects | Built-ins, bookcases, storage walls | Fabrication + materials + installation |
These are useful budgeting benchmarks, not guarantees. Current U.S. sources put arched openings around $1,000 to $5,000 depending on the opening and wall conditions, professionally installed built-in shelving around $1,500 to $6,000 nationally, and Venetian plaster around $400 to $1,000 for a typical application project before larger architectural scope is added.
Framed and Drywalled
Best for: Real architectural openings and permanent niches.
This is where your arch stops being decoration and starts changing the room itself. A professionally installed interior arched opening can run around $1,000 to $5,000, with the final figure affected by whether the wall is structural, the size of the opening, finishing requirements, and anything else that has to move out of the way. There is a reason arches cost more than straight openings. Curves need to be formed accurately, and the finished surface has to look smooth from every angle.
Plaster and Decorative Plaster
Best for: Niches, feature surfaces, powder rooms, and softer, more handcrafted interiors.
Plaster is one of those materials that can make a relatively simple shape feel incredibly expensive. Venetian plaster application currently averages around $700, with a typical project range of about $400 to $1,000. Instead of looking perfectly manufactured, a hand-finished arch can have subtle movement and depth. Just remember that decorative plaster and structural arch construction are two different costs.
Custom Millwork
Best for: Bookcases, media walls, desks, cabinetry, and storage.
This is where the word built-in really starts earning its keep. Professionally installed built-in shelving averages about $1,500 to $6,000 nationally, while floor-to-ceiling hardwood projects can reach $6,000 to $12,000 or more. Materials matter too. Painted MDF tends to be more budget-friendly, while hardwoods such as walnut, oak, and cherry push the material cost higher. Each extra detail (arched cabinet fronts, lighting) makes the piece feel more custom, which is wonderful aesthetically and less wonderful for the budget.
Painted or Faux Arches
Best for: Renters, small bedrooms, studio apartments, and maximum visual impact for minimum construction.
A painted arch can become a headboard, a visual room divider, a backdrop for a console, or a focal point without changing the footprint of the room at all. Professional faux painting typically ranges from $2 to $20 per square foot. In a tiny apartment, that can be the smarter decision. You get the curve, the color, and the visual zoning without losing an inch of floor space.
Room-by-Room Arched Built-In Budget
The room matters because the room determines what the arch needs to do.
Living Room Arched Built-In
Planning range: roughly $1,500 to $6,000+
This is probably the classic Pinterest version: an arched shelving wall, fireplace surround, reading nook, or media feature. The arch itself isn’t necessarily what makes the project expensive; it’s what you put inside it. Open shelving is simpler. Cabinets, drawers, lighting, concealed wiring, premium wood, and detailed trim all add scope.
Aesthetic Arches tip: In a smaller living room, resist the urge to fill every shelf. Let the curved architecture breathe. A few books, a ceramic piece, warm brass, and one sculptural object can look much more intentional than a wall packed from top to bottom. That is where Aesthetic Furniture and Studio Styling can do more for the room than another cabinet ever could.
Kitchen Arched Pantry or Doorway
Planning range: roughly $1,500 to $7,000+ (with much higher costs possible for major remodeling)
This is the room where you need to look behind the pretty picture. A simple non-structural arch can be relatively straightforward. But a kitchen wall may contain wiring, plumbing, ductwork, cabinetry, appliances, or structural framing. Moving any of those turns an architectural detail into a much larger construction project.
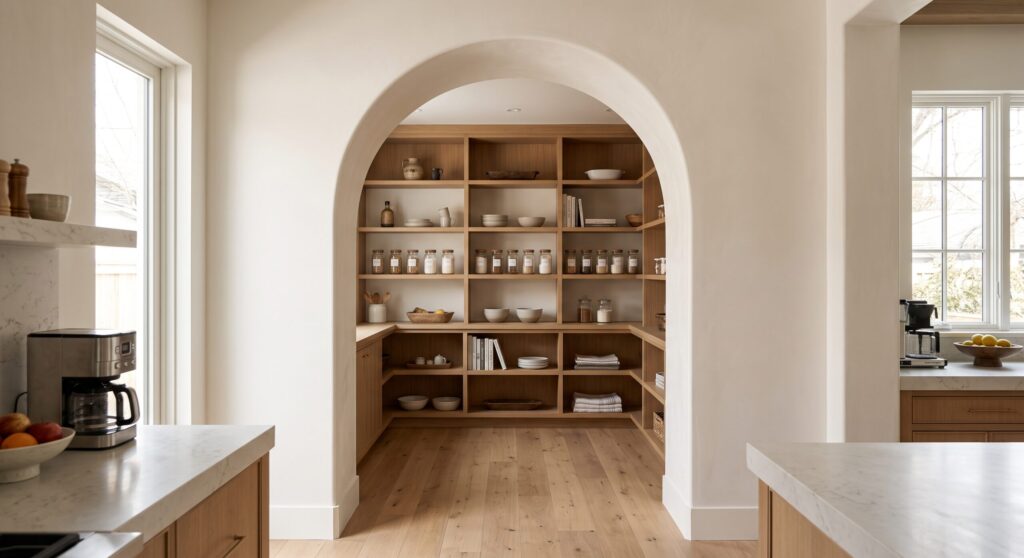
Aesthetic Arches tip: You don’t always need an entire arched pantry door. A shallow arch framing an open pantry entrance can provide the same visual softening while keeping the kitchen layout intact. Sometimes the best design move is simply not moving anything.
Bedroom Arched Headboard Nook
Planning range: roughly $300 to $2,500+
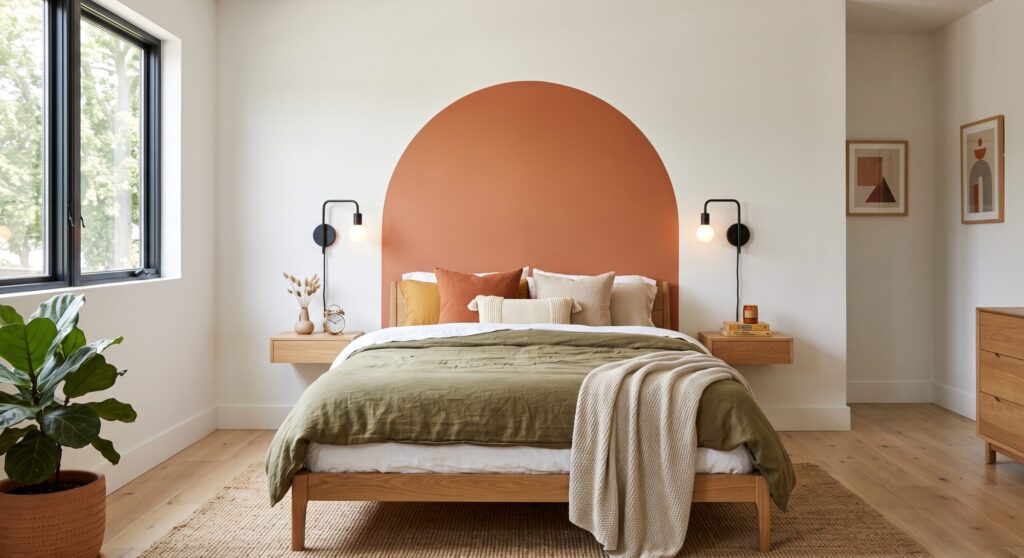
This is one of the easiest places to create an expensive-looking result without spending an expensive amount. A painted arch behind the bed may cost very little, especially as a DIY project. A real recessed niche is more involved, particularly if you add wiring, outlets, shelves, or built-in lighting.
Aesthetic Arches tip: Think of the arch as your headboard rather than placing a giant headboard inside the arch. A muted terracotta, warm blush, earthy olive, or creamy alabaster can create a strong Retro-Modern Palettes moment while keeping the actual furniture footprint small.
Bathroom Arched Niche
Planning range: roughly $1,000 to $4,500+
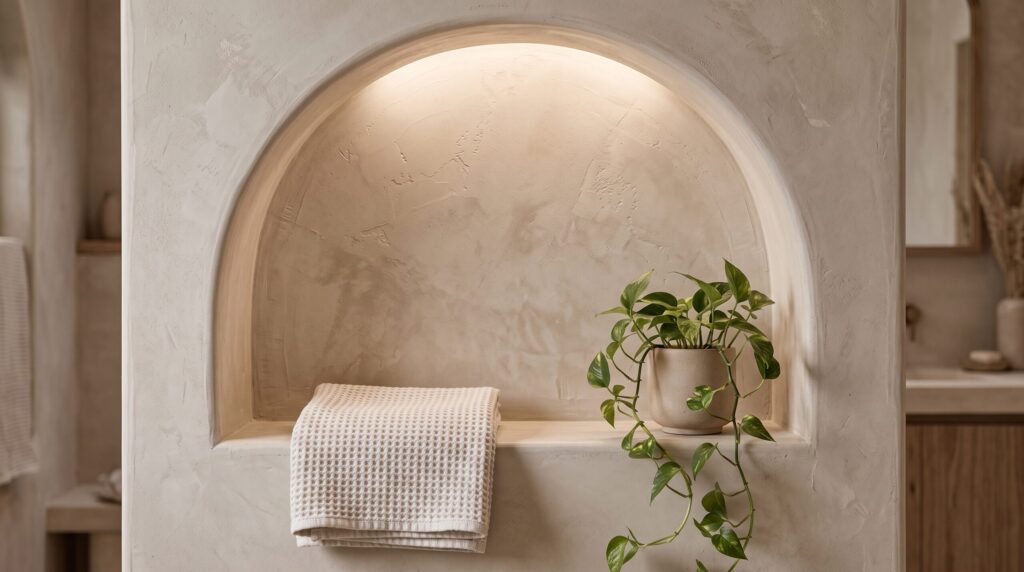
Bathrooms are where a cute Pinterest project can become a serious construction detail. A decorative arch above a vanity is relatively simple. A recessed arch inside a wet area is another story. Waterproofing, substrate preparation, tile, lighting, plumbing, and access all matter.
Aesthetic Arches tip: A shallow arched niche outside the shower can give you the shape and storage without adding unnecessary complexity to a wet area.
Home Office or Studio Arched Bookcase
Planning range: roughly $1,000 to $5,000+
This is one of my favorite uses of an arch because it can solve two problems at once: storage and architectural zoning. That’s especially useful in a studio apartment where a full wall can make the space feel smaller.
Aesthetic Arches tip: Let the bookcase act as a visual boundary between work and living rather than physically closing the space off. Add one warm light source and keep the shelf styling relatively restrained. That is an Arched Architecture × Studio Styling win without sacrificing openness.
The Hidden Costs People Forget
The quoted price for “the arch” is not always the final project cost. Here’s where budgets quietly grow.
Structural Assessment
Before cutting or widening an opening, determine what the wall is doing. Changing a load-bearing wall requires professional input and permits. This is one area where saving money by guessing is rarely worth it.
Surface Prep and Finishing
The arch may be beautifully framed, but it still needs to disappear into the room. That means sanding, mudding, caulking, primer, paint, trim, and cleanup. Curves make imperfections more noticeable.
Lighting
This is the sneaky one. An integrated LED strip tucked inside an arched niche looks like a tiny detail. Getting wiring to it, adding controls, moving an outlet, or making everything serviceable is not. Budget for it from the beginning instead of adding it as an afterthought.
Trim and Adjacent Repairs
If an arch interrupts existing baseboards, crown molding, paint, tile, or flooring, those materials may need to be repaired or replaced.
Permits
An electrical change and a structural alteration should not be treated the same way as painting a decorative arch. Ask your contractor what approvals apply before the work begins.
How to Choose the Right Arch for Your Budget
Instead of starting with a price, start with what you actually want the arch to accomplish.
- “I just want the look.” Go painted. A faux arch gives an architectural focal point without construction.
- “I want a real opening.” Think framed drywall. Best when the arch needs to change how two spaces connect.
- “I want storage too.” Think millwork. If the feature needs shelves or cabinetry, invest in the built-in.
- “I want the finish to feel special.” Consider plaster. The extra surface character is worth it when the arch becomes part of the material story.
- “I want a dramatic result in a tiny apartment.” A painted arch behind a curved sofa, an arched bookcase to divide a studio, or an arched niche with warm lighting can replace bulky furniture.
So, What Should You Actually Budget?
There is no universal “arched built-in price,” and that’s ultimately good news. For a purely decorative painted arch, you may be working with hundreds rather than thousands. For a real architectural opening, plan around the low thousands, with more complicated openings reaching $5,000+. For custom built-in shelving, expect $1,500 to $6,000.
Don’t spend thousands simply to make your wall curved. Spend because the curve is solving something. Good design isn’t about making the most expensive version happen. It’s about knowing which version will make the biggest difference to your room.
A Quick Arched Feature Budget Cheat Sheet
| What You Want | Starting Point to Plan Around |
| DIY painted arch | $50–$150+ |
| Professionally painted decorative arch | $250+ |
| Small real drywall arch | Around $1,000+ |
| More involved arched opening | $2,000–$5,000+ |
| Smaller custom built-in | Around $1,500–$3,000+ |
| Larger custom built-in | $3,000–$6,000+ |
| Premium floor-to-ceiling millwork | $6,000–$12,000+ |
Frequently Asked Questions
How much does an arched built-in cost?
A typical custom built-in can fall anywhere from roughly $1,500 to $6,000, while larger or premium millwork projects can exceed $10,000. The cost depends on size, materials, cabinetry, finish, installation, and whether lighting is included.
Is it cheaper to paint an arch or build one?
Yes. A painted arch is dramatically cheaper because you are changing the appearance of the wall rather than rebuilding the wall itself.
How much does an arched doorway cost?
Current U.S. cost guidance puts an installed interior arched opening around $1,000 to $5,000, although structural conditions can push the project higher.
Are arched built-ins worth the money?
They can be, especially when the arch combines architecture with a useful function such as storage, zoning, or workspace.
Can I create an arched niche without major construction?
Sometimes. A shallow applied feature or painted arch can create much of the visual effect without opening the wall.
The Aesthetic Arches Takeaway
The best arched feature isn’t necessarily the one with the biggest curve or the biggest budget. It’s the one that feels like it belongs there. A good arch can soften a doorway, frame a bed, hide a desk, organize a studio, or simply give a plain room a little more soul. You are not really paying for a curve. You’re paying for what that curve does for the room.